Deferred Realtime Point Lights
It has been a while since my last update, but I’m excited to share significant progress with the new renderer. As of a couple of weeks ago, the new renderer has now support for realtime deferred point lights!
Point lights in a deferred renderer a bit more complicated to implement than directional lights. For directional lights, we can usually get away with drawing a fullscreen quad to calculate the light contribution to the scene. With point lights, we need to render a light volume for each light, calculating the light contribution for the intersecting meshes.
The following image is from one of the earlier tests I was conducting while implementing the lights. Here, I decided to render the light volumes as wireframe meshes for debugging purposes.
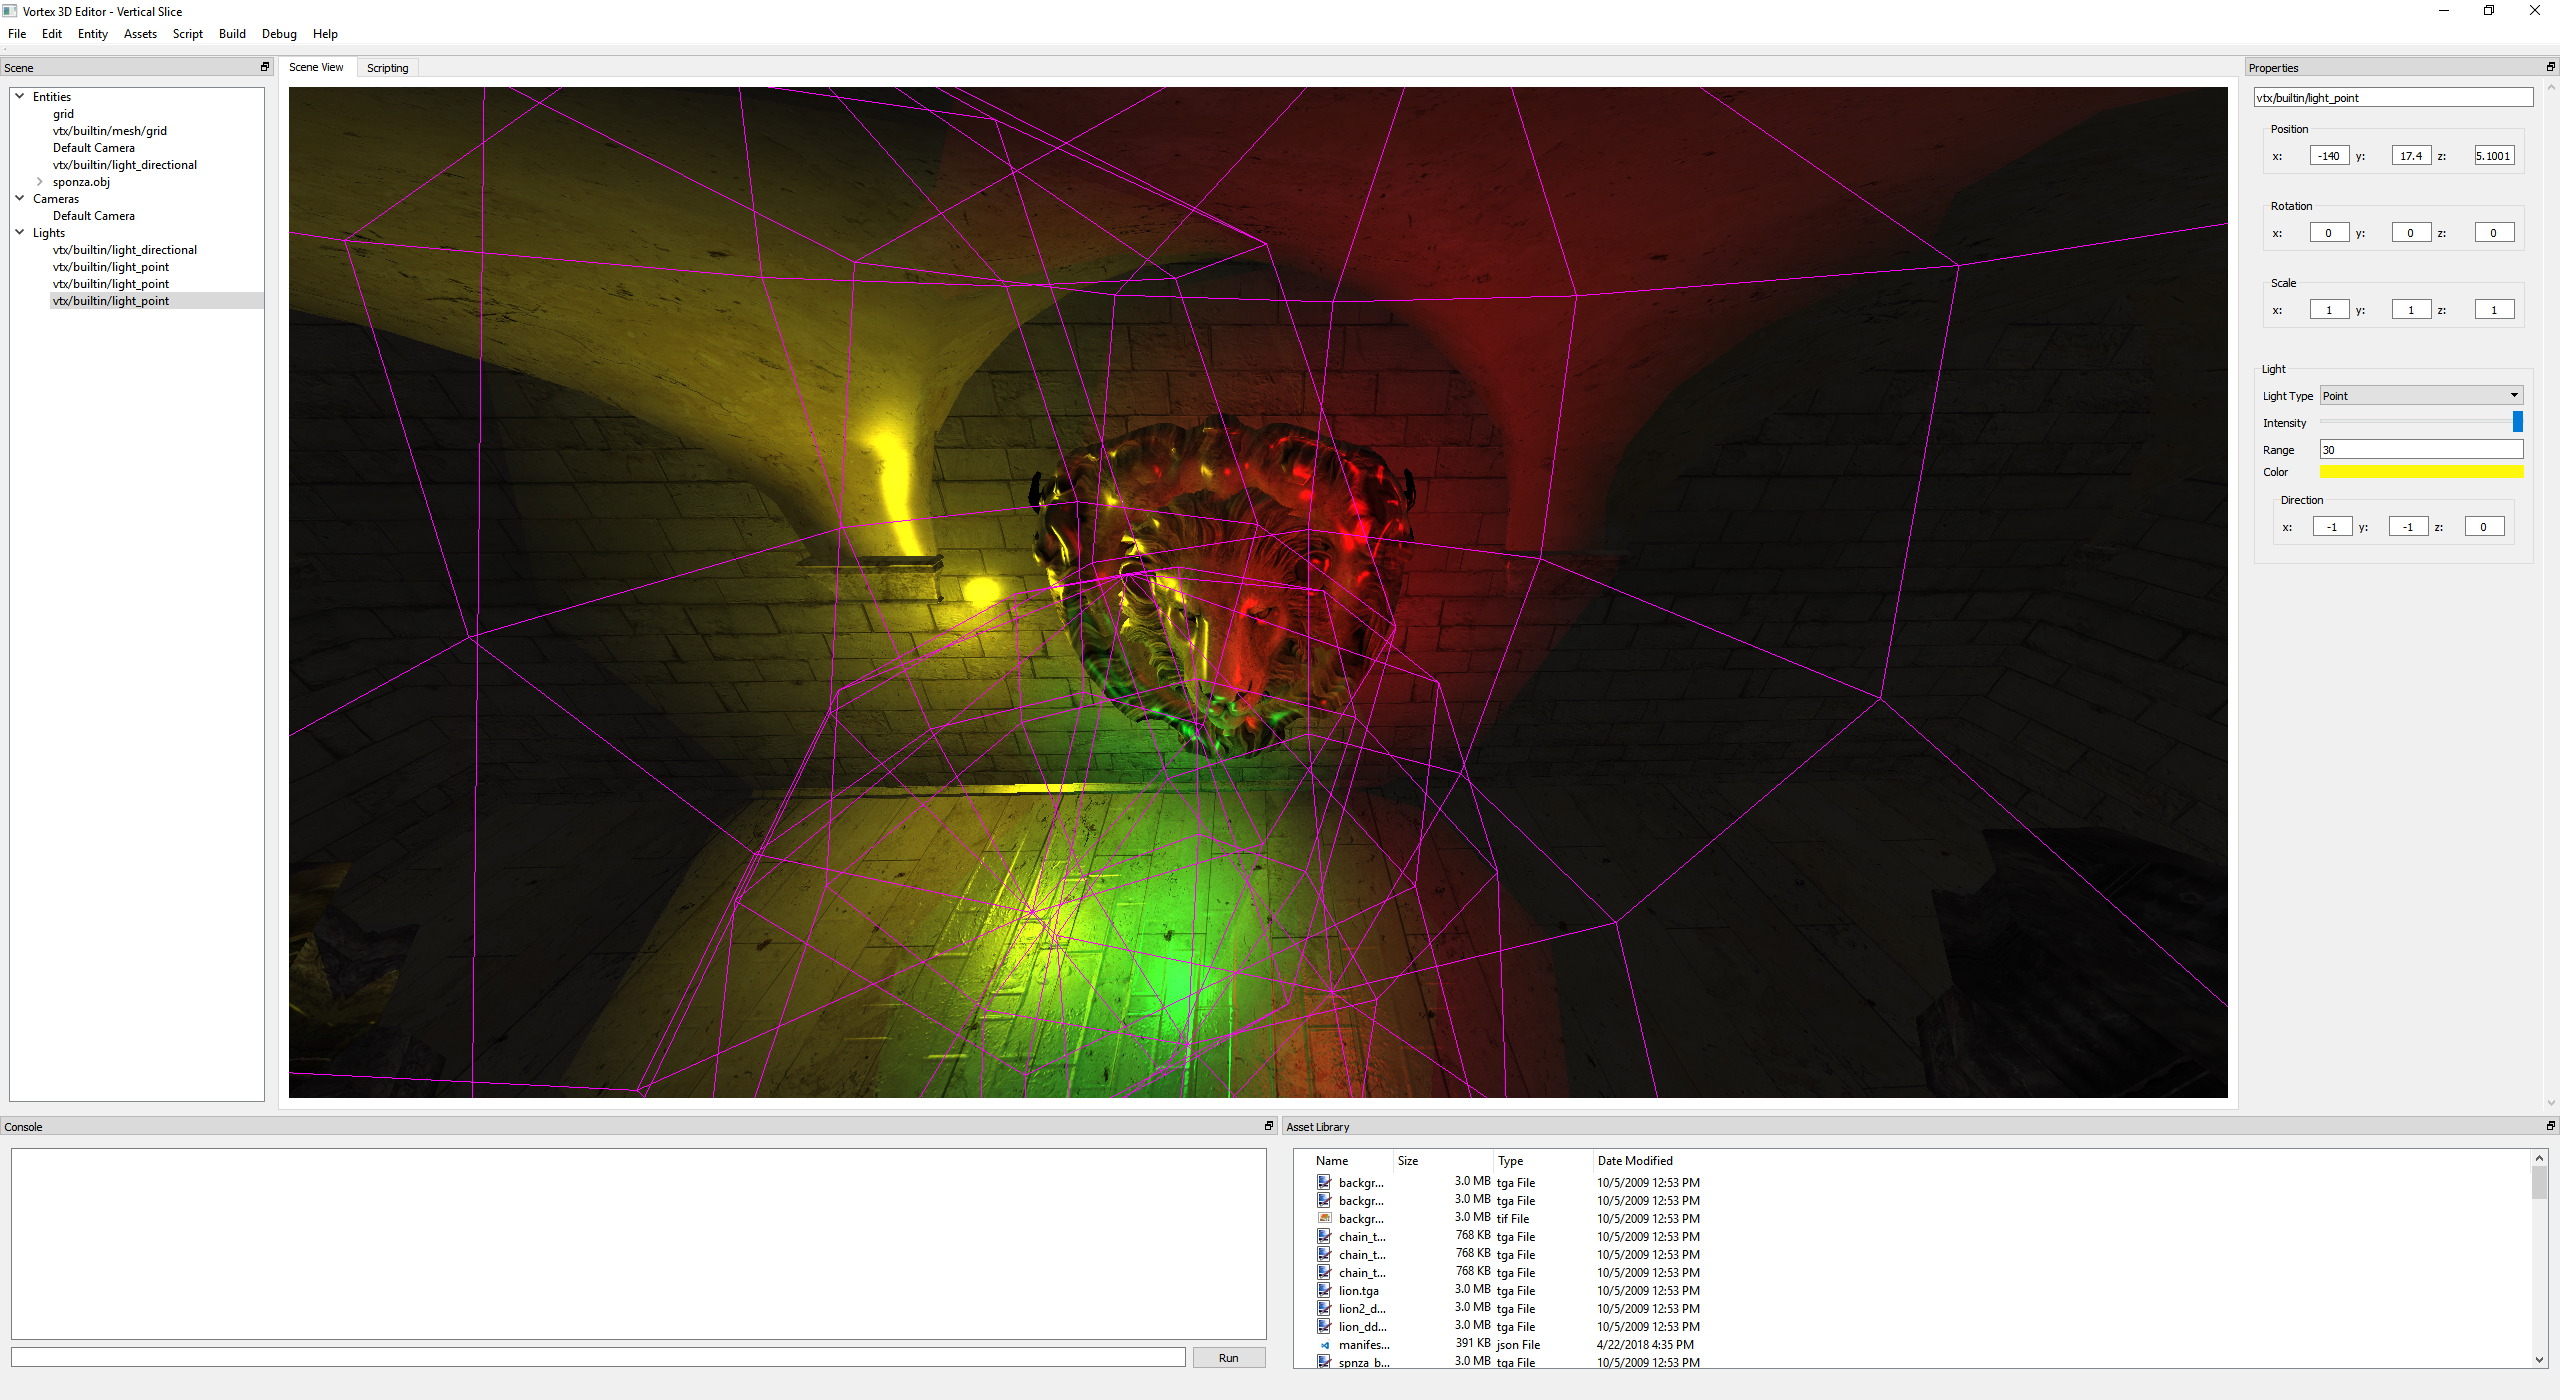
If you look closely, you can see how each light is contained to a sphere and only contributes to the portions of the scene it is intersecting. This is the great advantage of a deferred renderer when compared to a traditional forward renderer.
In a forward renderer, we would have had to draw the entire scene for each light. Only at the very end of the pipeline, would we realize that a point light contributed nothing to a fragment. At this point, however, we would have already performed all the operations in the fragment shader. In comparison, a deferred renderer only computes the subsection of the screen affected by each light volume. This allows for having very large numbers of realtime lights in a scene, with the total cost of having lots of lights on screen amounting to about just one big light.
Determining Light Intersections
One problem that arises when rendering point light volumes is determining the intersection with the scene geometry. There are different ways of solving this problem. I decided to base my approach on this classic presentation by NVIDIA.
The idea is to use the stencil buffer to cleverly test the light volumes against the z-buffer. In order for this to work, I had to do a pre-pass, rendering the back faces of the light volumes. During this pass, we update the stencil value only on z-fail. Z-fail means that we can’t see the back of our light volume because another mesh is there – exactly the intersection we’re looking for!
Once the stencil buffer pass is complete, we do a second pass of the light volumes, this time with the stencil test set to match the reference value (and z-testing disabled). The fragments where the test passes are lit by the light.
The image above shows the idea. In it, you can see how the light volume determines the fragments that the point light is affecting.
Screenshots
Here are some more screenshots of the technique.
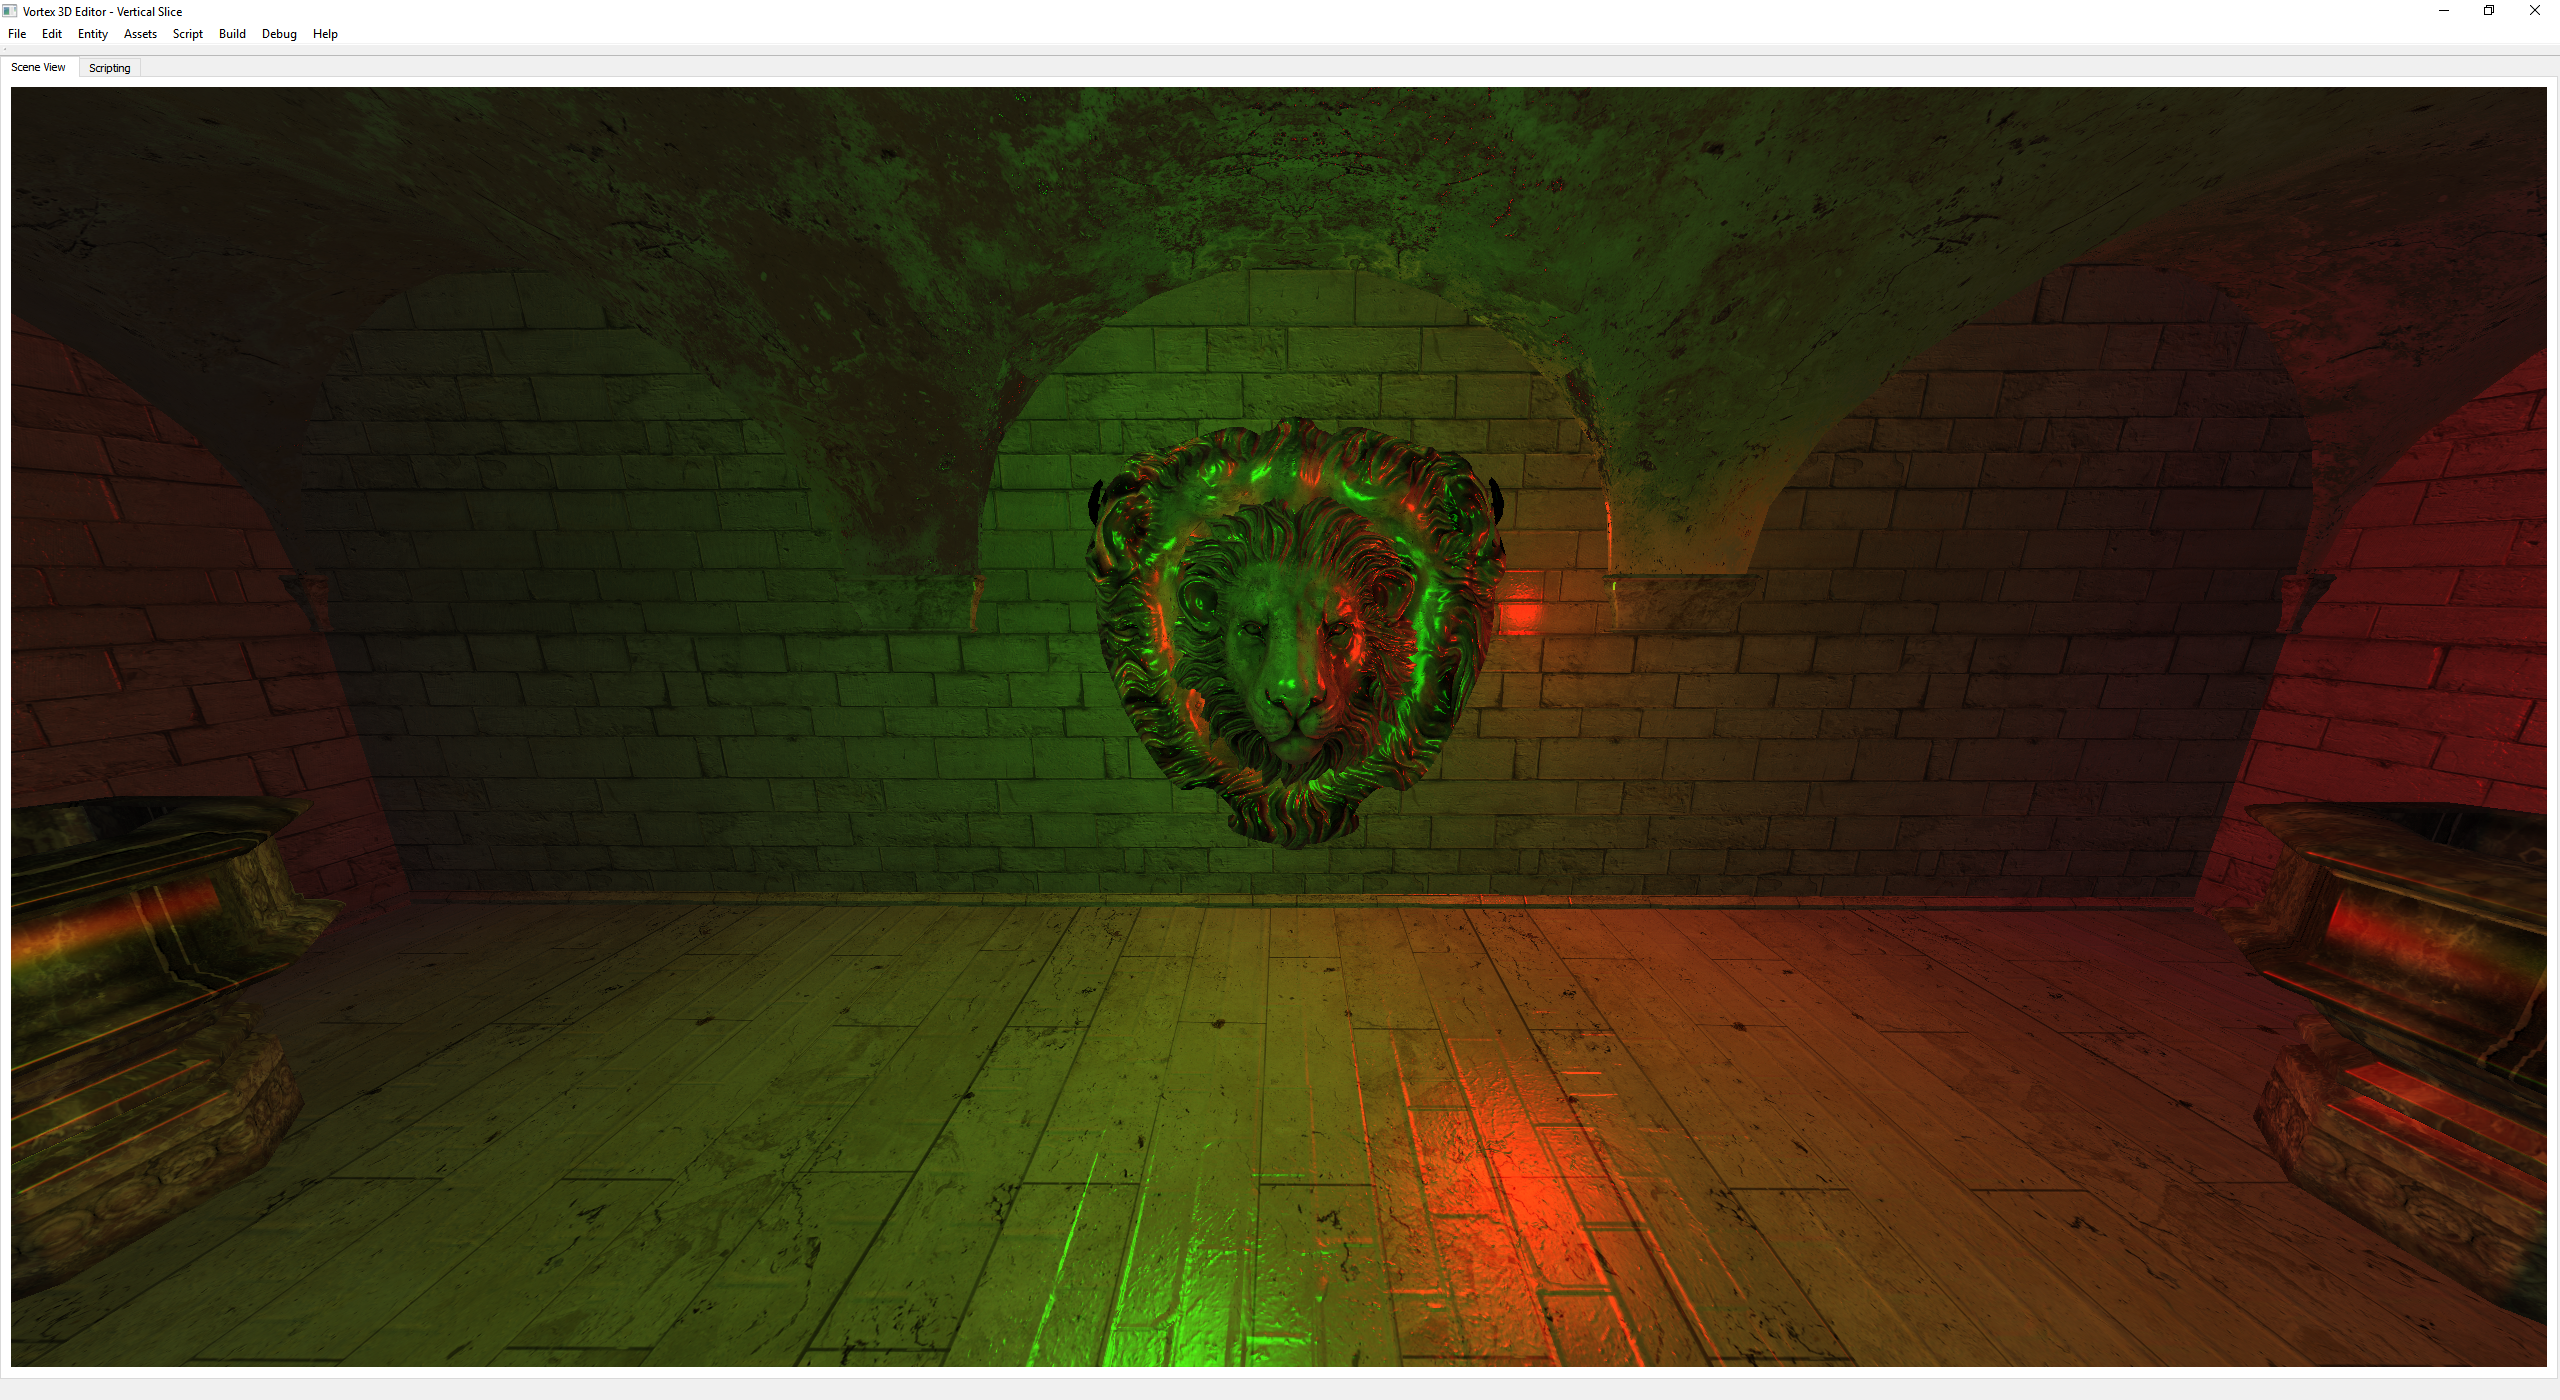
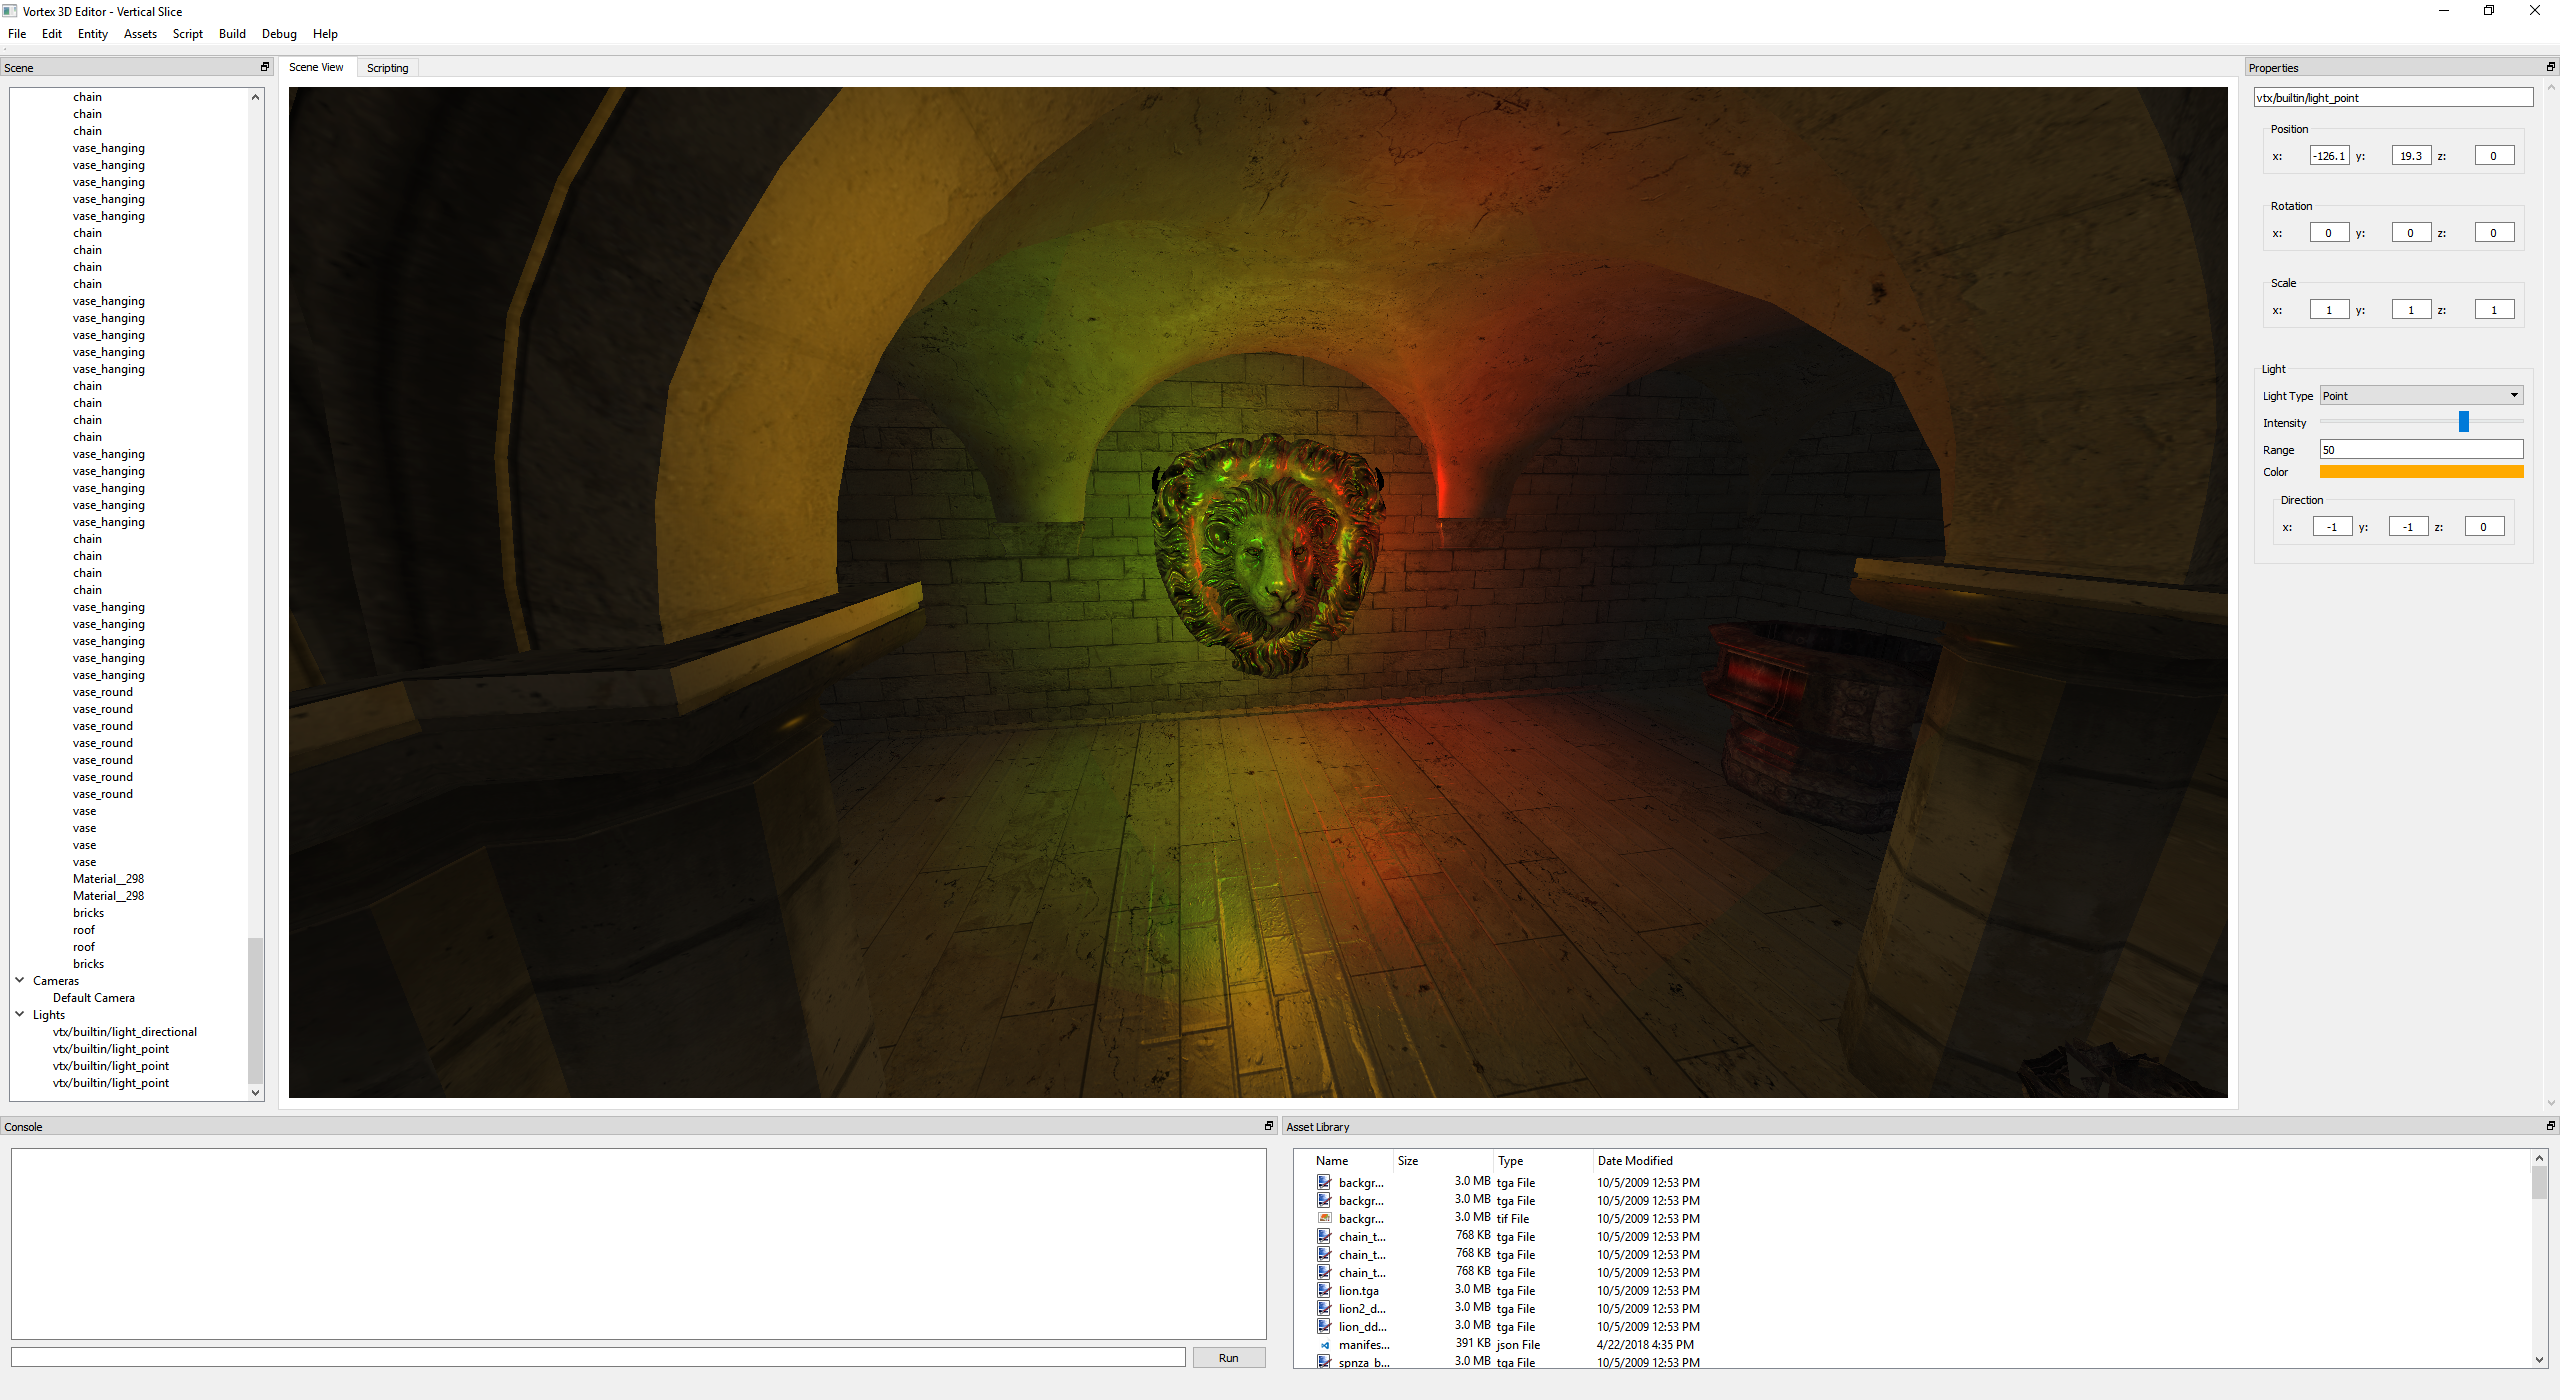
In the following image, only the lion head had a bump map. For the rest of the meshes, we’re just using the geometric normal. Even as I was building this system, I was in awe at the incredible interaction of normal mapping with the deferred point lights. Take a look at the lion head (zoom in for more details), the results are astounding.
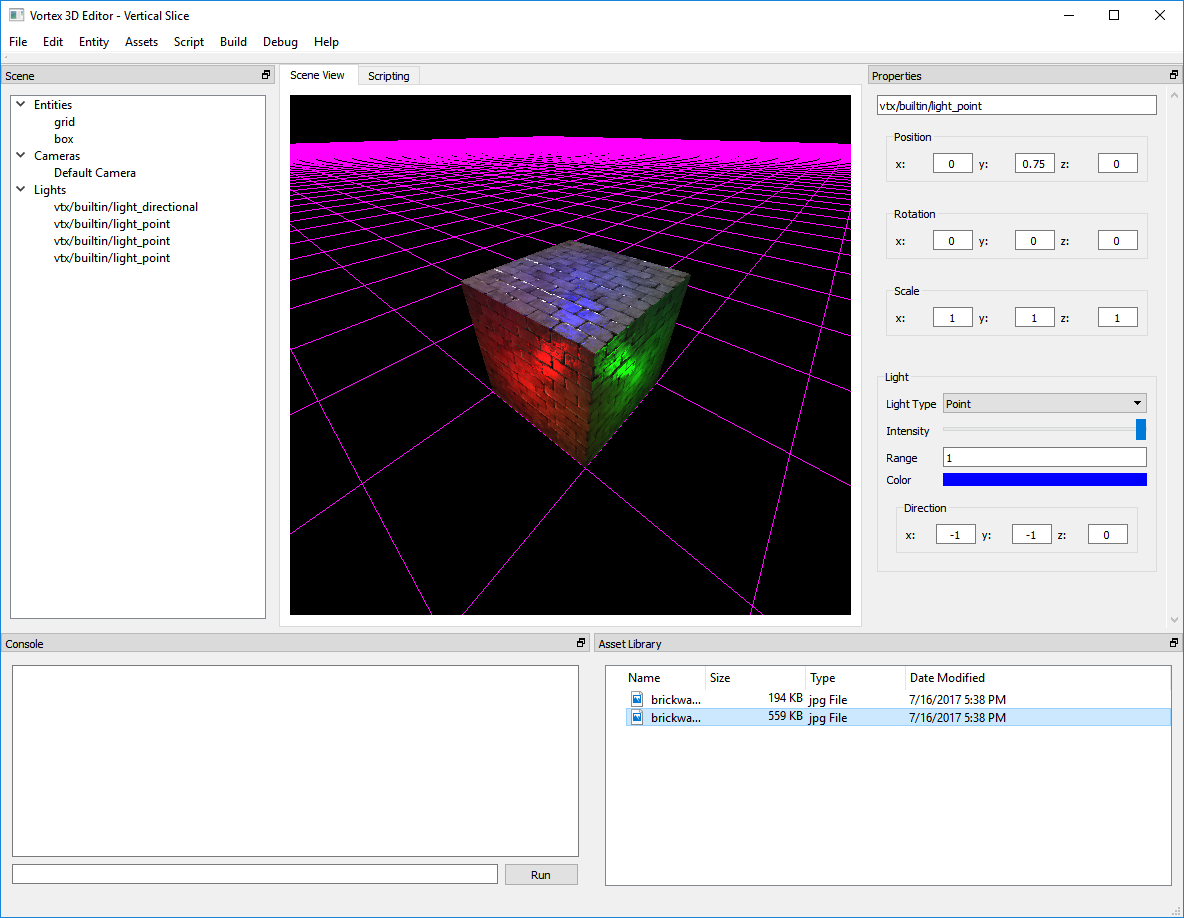
Here’s our old friend, the test cube, being lit by 3 RGB point lights.
I’m still playing with the overall light intensity scale (i.e. what does “full intensity” mean?). Lights are pretty dim in the Sponza scene, so I might bring them up across the board to be more like in the cube image.
Conclusion
Deferred rendering is definitely an interesting technique that brings a lot to the table. In recent years, it has become superseded by more modern techniques like Forward+, however, the results are undeniable – especially when combined with elaborate shading techniques such as normal mapping.
The next steps will be to implement spot light support and start implementing post processing techniques.
Stay tuned for more!