Category: OpenGL
Vortex adds Render-to-Texture capabilities
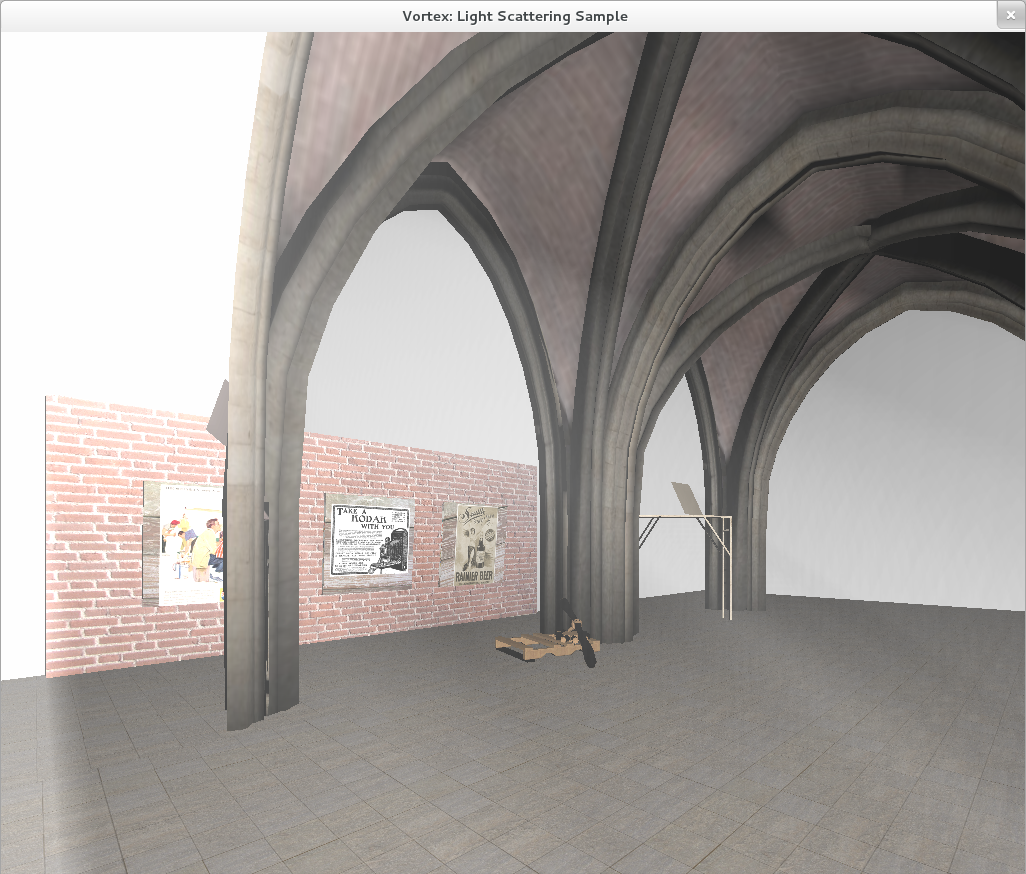
I’m very glad to announce Vortex now supports render-to-texture capabilities by means of Framebuffer Objects : )
I’m very glad to announce Vortex now supports render-to-texture capabilities by means of Framebuffer Objects : )